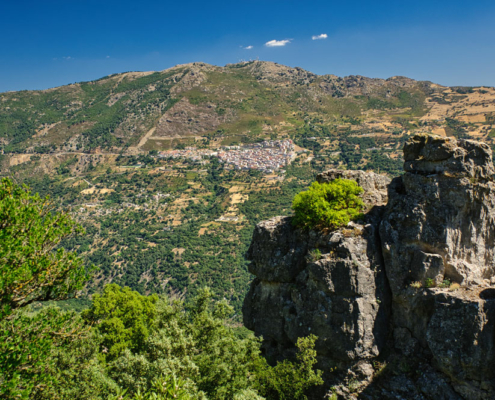
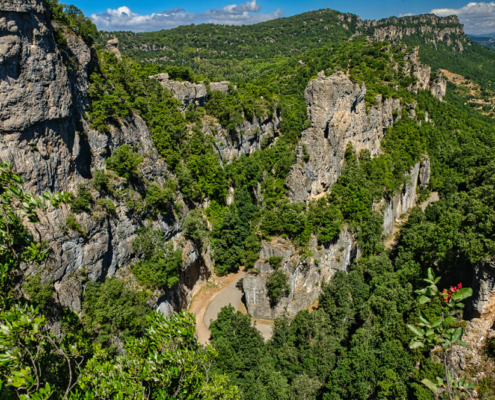
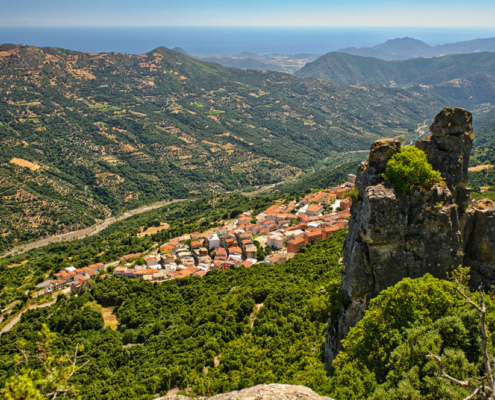
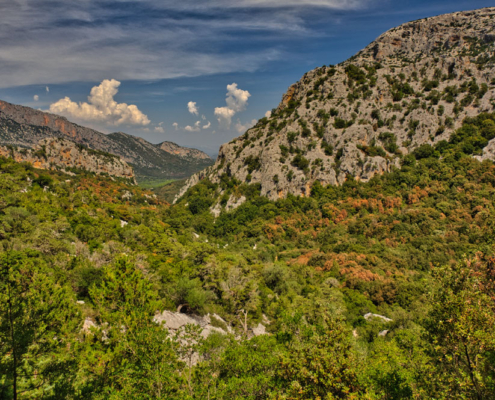
Hiking in Sardinia
Here, I’ve compiled a selection of hikes that I’ve personally done and can wholeheartedly recommend.
For each hike, I provide a detailed description and a free GPX track for download below the map.
Gola su Goroppu from Genna Silana
Gola su Goroppu from Ponte S’Abba Arva
On the Giara di Gesturi from the parking lot near Tuili to Pauli Majori
Gola della Scala di San Giorgio and Nuraghe Serbissi
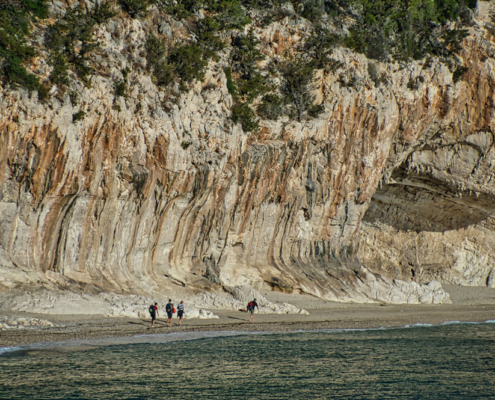
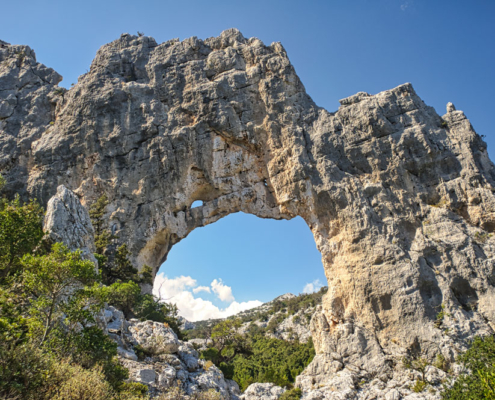
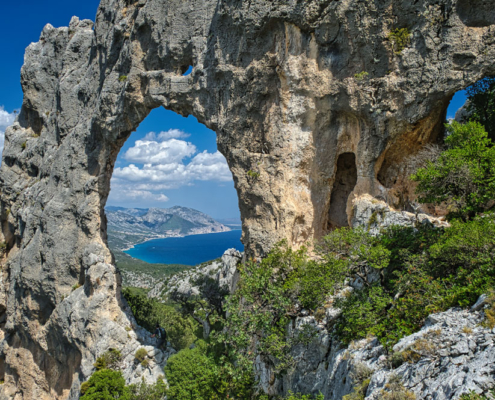
From Cala Fuili to Cala di Luna and the rock arch “Arco di Lopiru”
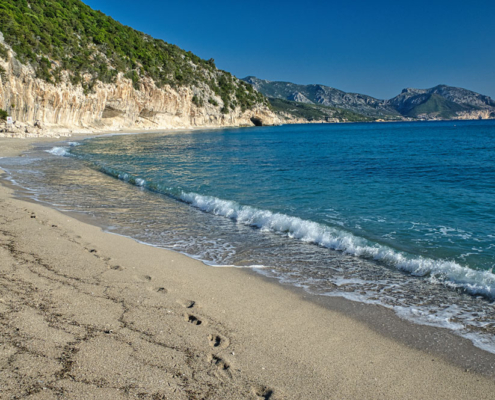
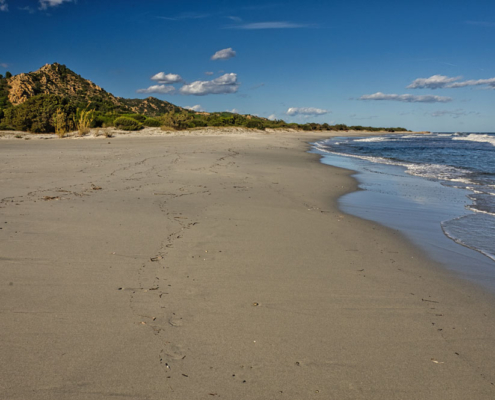
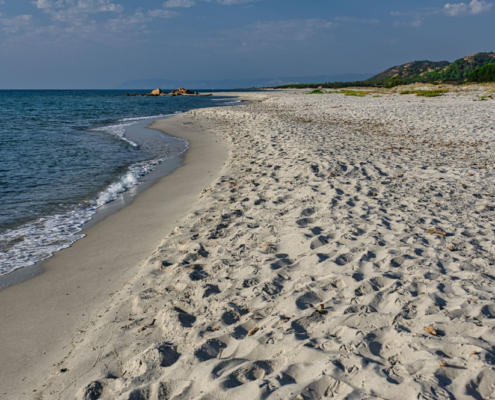
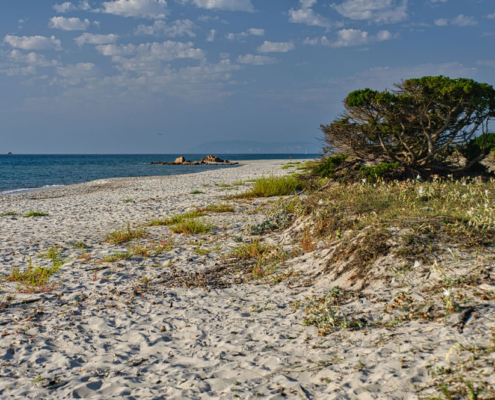
From Capo Comino to Spiaggia di Berchida
From Locanda Ammentos to Punta Su Mutucrone
From S’ Ulidone to Punta Su Pizzu and Punta Cupeti
Gola su Goroppu from Genna Silana
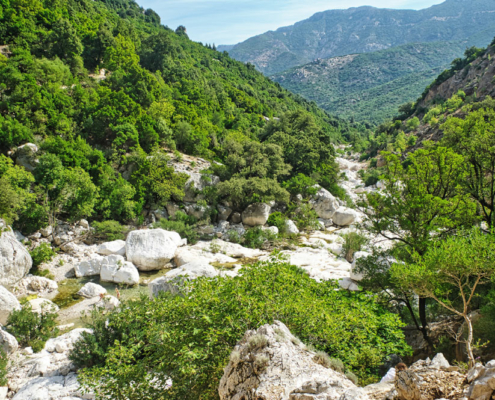
This tour is, in my opinion, the most beautiful route to the entrance of Gola su Goroppu.
However, it requires a good level of fitness and a sense of direction. After all, you have to overcome about 600 meters of elevation gain, and along the way, there are several junctions without signposts.
The return journey, in particular, is very strenuous because it’s all uphill.
For families with children, the route starting from Ponte S’Abba Arva is more suitable.
At the top of Genna Silana, there are plenty of parking spaces and a lovely bar where you can refresh yourself at the end of the tour.
There are no places to stop for food or drink along the way, and the springs by the path do not always have water.
You should bring at least 2 liters of water per person.
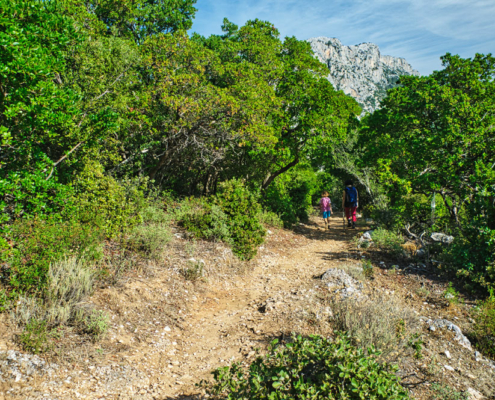
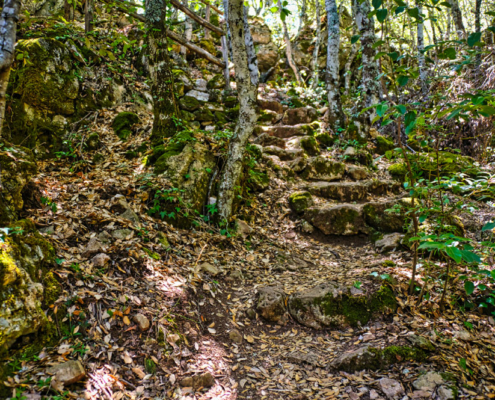
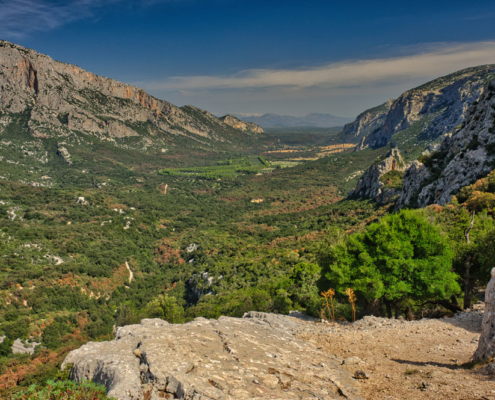
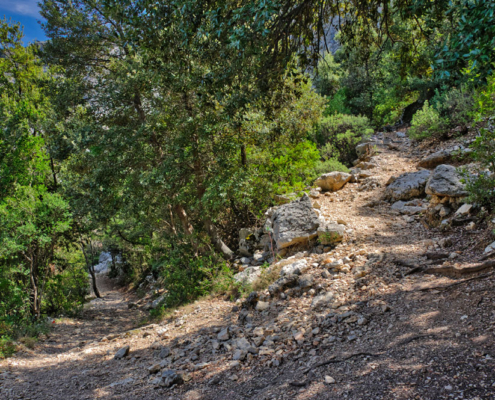
The path initially descends gently, passing fantastic viewpoints and later through sparse forests.
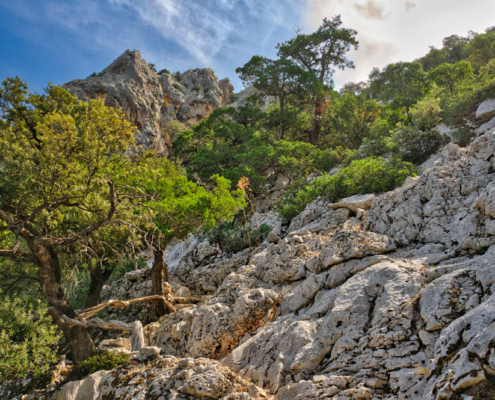
Further down, you’ll come across some impressive holm oaks. Along the way, you’ll often find opportunities to rest in the shade.
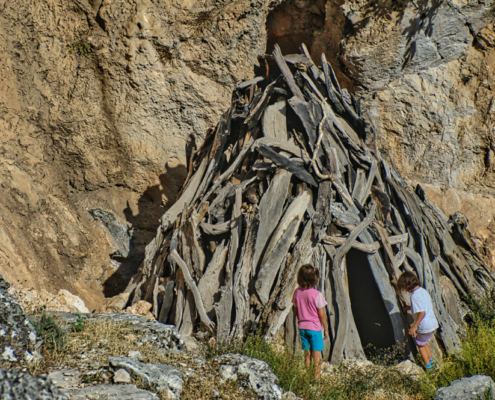
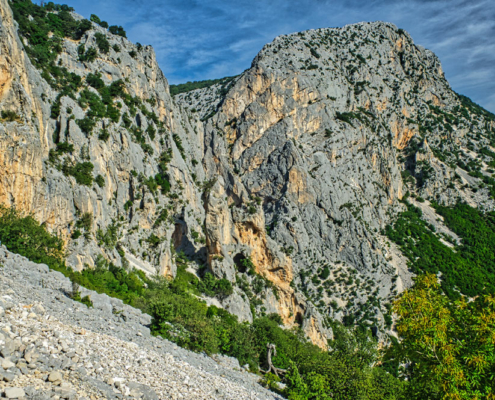
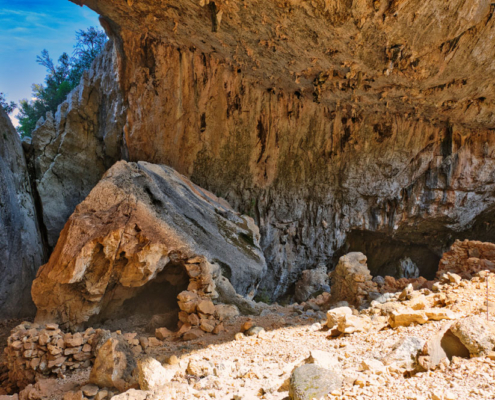
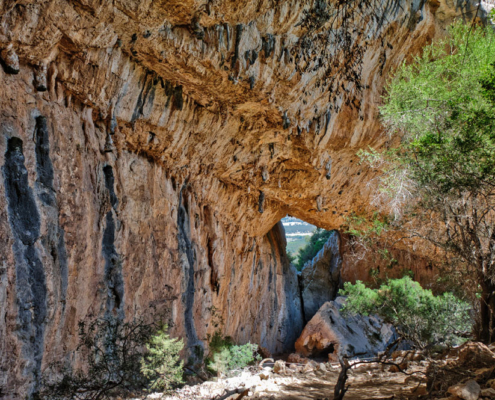
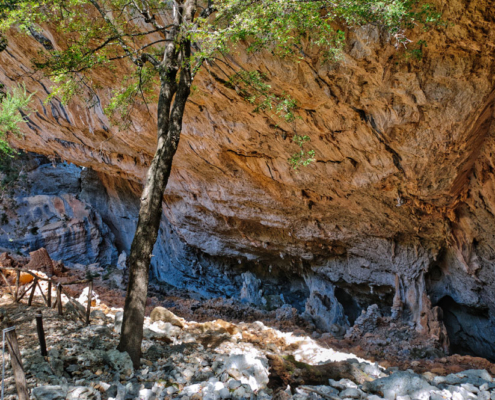
The trail then follows the base of a massive rock wall, where there is also a small shelter.
After this, the path becomes progressively narrower, curves eastward, and leads through shrubs and small trees with gentle ups and downs until you reach the entrance to the gorge.
In the final stretch, you can already catch a view of the Riu Flumineddu valley below.
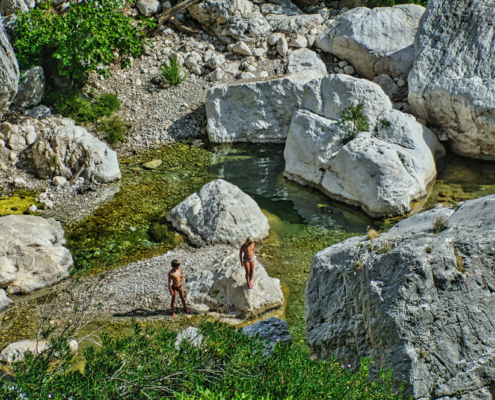
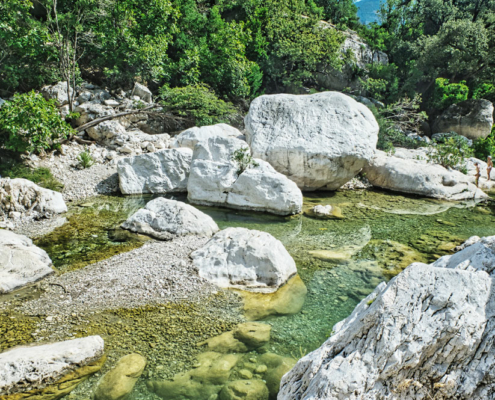
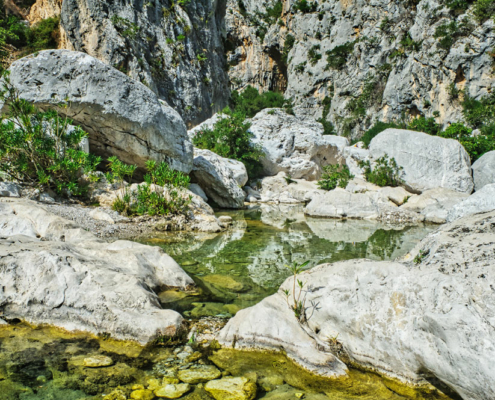
There are usually beautiful pools of clear water here where you can take a refreshing swim.
At the entrance to the gorge, an admission fee is typically charged, at least in summer.
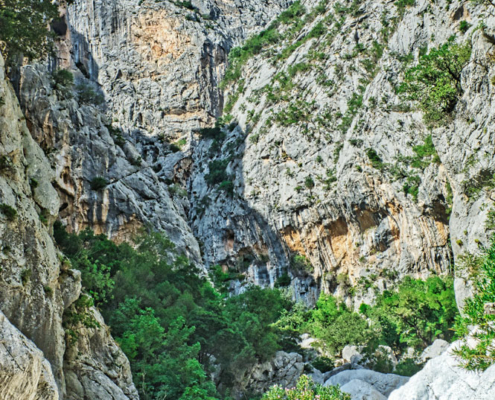
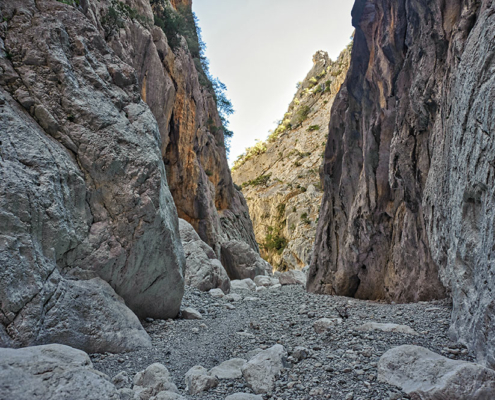
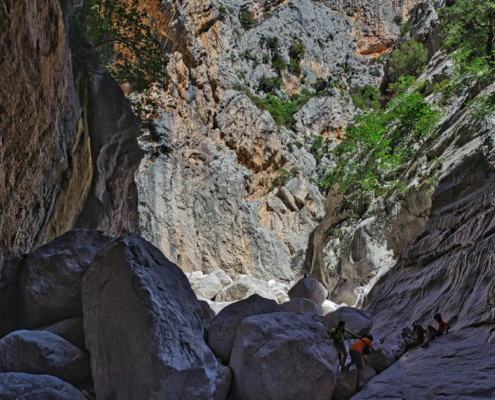
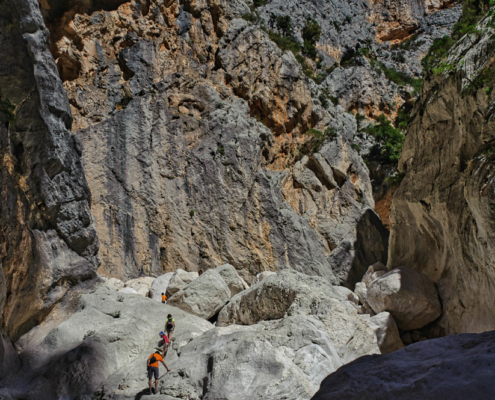
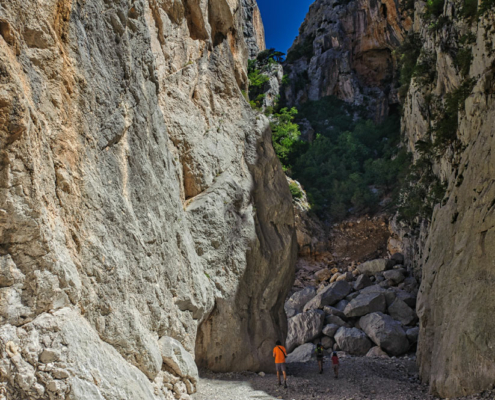
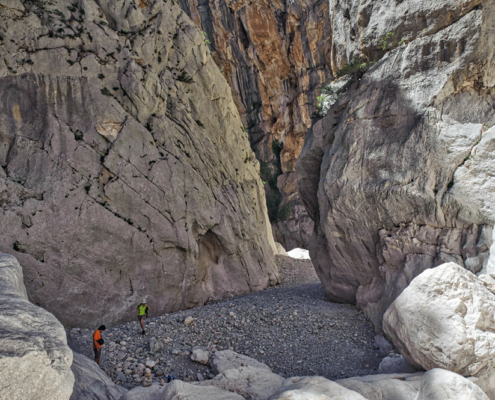
You can then hike into the gorge, but you’ll need to climb over large boulders repeatedly.
Although there are some climbing aids installed, I recommend staying near the entrance and on marked trails if you’re inexperienced.
Plan about 2 hours for the hike to the gorge, 1 to 1.5 hours for exploring the gorge, and 3 hours for the return journey.
Especially in summer, you’ll need several breaks on the way back.
Gola su Goroppu from Ponte S’Abba Arva
This hike is also very scenic.
There are no significant elevation changes to tackle on the way to the gorge, and there are frequent opportunities to swim in the river valley.
For these reasons, this tour is especially suitable for families with children, even if the path to the gorge entrance is not as varied or spectacular as the route from Genna Silana.
You can reach the parking area at Ponte S’Abba Arva via a turnoff from the SS125, located about 1 km south of the tunnel to Cala Gonone.
From there, a fully paved road leads approximately 10 km into the valley to the starting point.
From the parking area, the path runs along the valley the entire way, always parallel to the Riu Flumineddu, whose waters often vanish underground during the summer.
Still, there are plenty of pools with wonderfully clear and cool water along the way, where you can refresh yourself.
The distance from the parking area to the entrance of Gola su Goroppu is about 6 km, and the path is almost entirely easy to walk. Only at the end are there a few steeper sections.
You can then choose to hike a bit further into Gola su Goroppu.
However, be careful not to overestimate your abilities. At the beginning, the path is still well-maintained and marked. Further in, it quickly turns into a climbing challenge, requiring you to navigate large and very smooth boulders.
Make sure to bring at least 2 liters of water per person. While there is a spring along the path and the option to refill bottles shortly before the gorge, I’ve found that in Sardinia, especially during the dry summer months, such springs cannot always be relied upon.
For the round trip, you’ll need about 1.5 to 2 hours, with an additional 1 to 1.5 hours for venturing into the gorge.
If you’re traveling with children, it’s best to plan the hike as a full-day excursion and start shortly after sunrise. This way, you’ll have plenty of time to take breaks and enjoy the swimming opportunities in the pools along the way.
On the Giara di Gesturi from the parking lot near Tuili to Pauli Majori
The Giara di Gesturi is a beautiful area for hiking.
The drive to the plateau is quite steep, but once at the top, there are hardly any elevation changes. This makes it suitable for short trips even with younger children.
There are several access routes to the Giara; we chose the one from Tuili.
The most commonly used route is the ascent from Gesturi.
All roads are fully paved, but some sections are very narrow and steep.
At the parking areas, you will often find a few rangers who can provide tips and, possibly, sell you a small map of the area.
The plateau is partly covered by dense forest and shrubbery, which often limits visibility.
Numerous paths and junctions make orientation additionally challenging.
Signposts are only sporadically available.
If you walk about 250 meters west from the parking area, you will reach the church “Santa Maria Bambina,” which is located on the edge of the Giara.
From here, you have a fantastic view to the south over the Marmilla. The Nuraghe Su Nuraxi is also clearly visible from this spot.
The recommended route starts at the northern exit of the parking area and follows a slightly winding path through open woodland, leading first to the botanical garden “Morisia.”
The garden is home to around 180 different plant species, including many typical varieties and some endemic to this region.
It is named after Morisia monantha, an endemic plant species found here.
About 600 meters west of the botanical garden, there is a turnoff on the left leading to the ruins of the Nuraghe Tutturuddu.
From the Nuraghe, it is approximately 1.3 km to the Pauli Majori, a flat, marshy basin where varying amounts of rainwater collect depending on the season.
There are several such Pauli on the Giara di Gesturi. In spring, the water surfaces are often densely covered with the blossoms of water crowfoot.
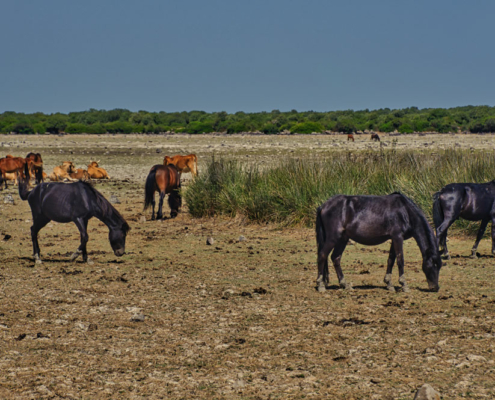
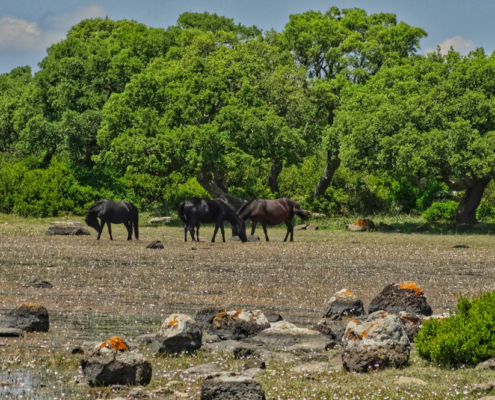
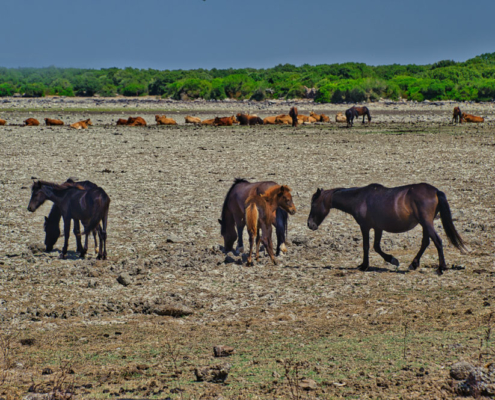
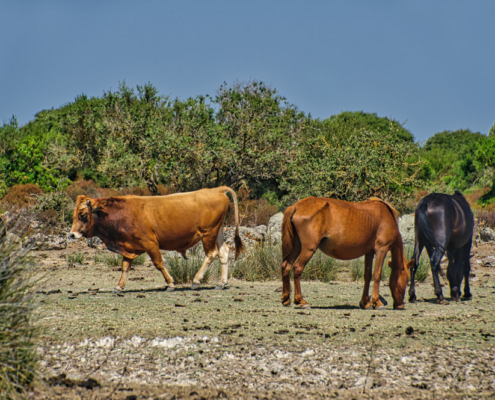
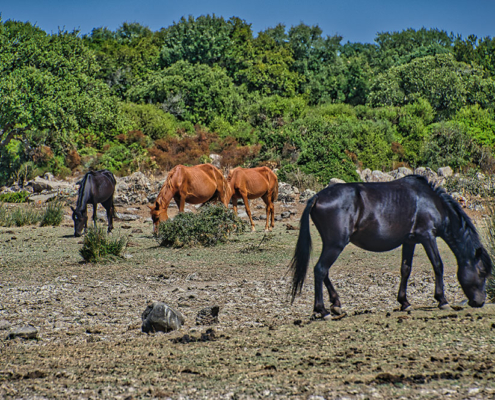
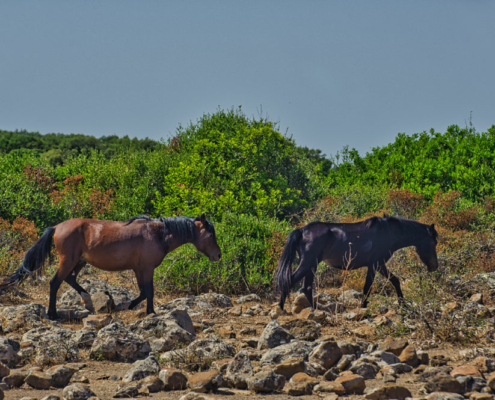
The Pauli also offer the best chance to spot the wild horses that live here.
The distance from the parking area to the Pauli Majori is about 3 km.
Plan a generous three hours for the round trip. This allows you plenty of time to explore the botanical garden and observe the wild horses along the way.
Gola della Scala di San Giorgio and Nuraghe Serbissi
These two excursions can be easily combined.
The climb to the viewpoint at Scala di San Giorgio is straightforward and takes only about 10 minutes.
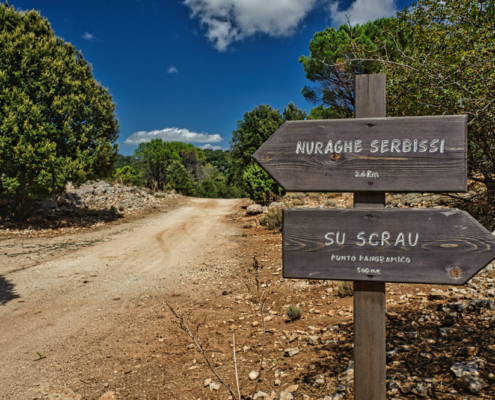
For the hike to the Nuraghe Serbissi, however, you should plan at least 3 hours, including a visit to the Nuraghe and a side trip to Su Scrau.
There is little shade along the route, and it can become uncomfortably hot on the plateau, especially in summer. Make sure to bring plenty of water.
The starting point for both tours is the village of Osini, and the route to the Scala di San Giorgio is well-signposted throughout.
Especially after leaving the village, the road becomes very steep and narrow in places but remains fully paved.
Shortly before a hairpin bend, you will find a small ticket booth and some parking spaces nearby.
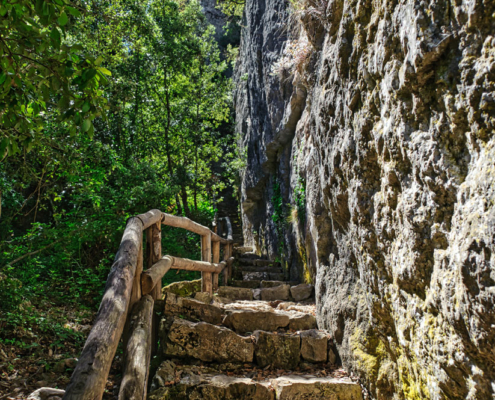
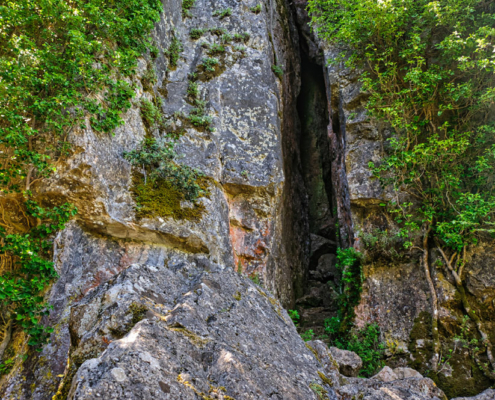
From here, a well-maintained hiking trail leads upwards between the rock walls. In the lower section of the path, you pass a rock crevice from which a cooling downdraft greets you.
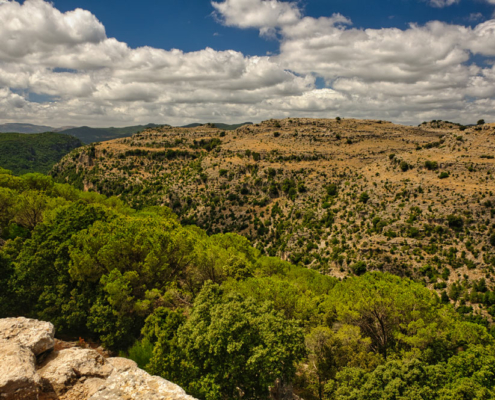
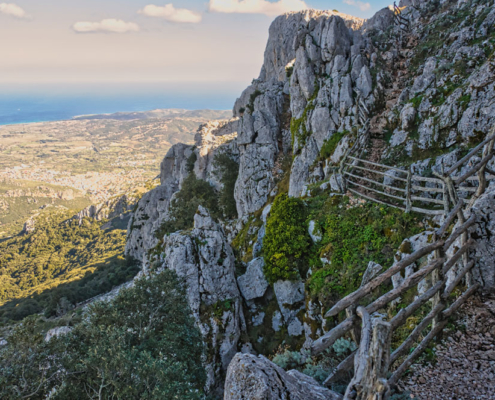
At the top, you’ll enjoy a fantastic view of the surrounding rock formations, across to Gairo Vecchio, and down to Osini.
Although some sections are secured with wooden railings, you should never leave the designated paths, as there are many exposed spots with vertical drops.
If you plan to hike to the Nuraghe Serbissi afterward, continue driving uphill along the road and keep to the right at both junctions. The paved road transitions to an unpaved forest road after about 2 km. Park your car here, as the track is not suitable for standard vehicles.
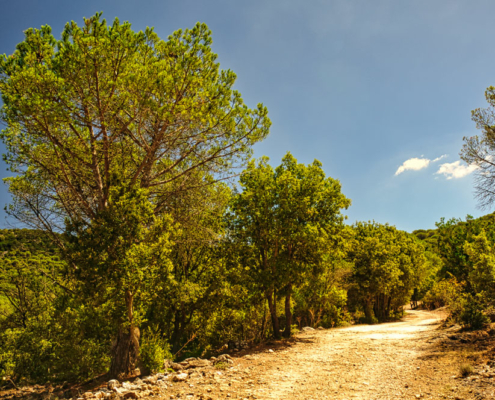
From this point, follow the forest road for about 3 km to the Nuraghe. The path is easy to walk, with only minor elevation changes, and it leads through sparse woodland.
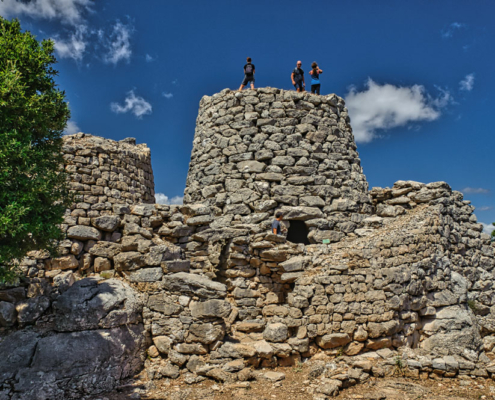
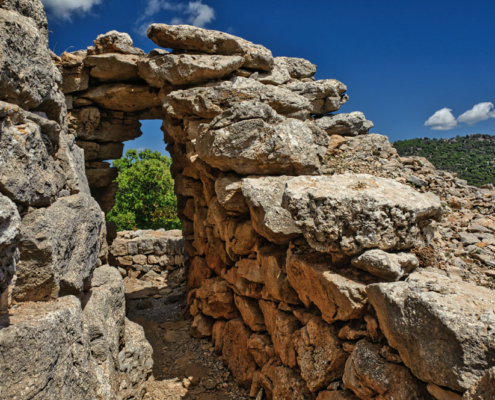
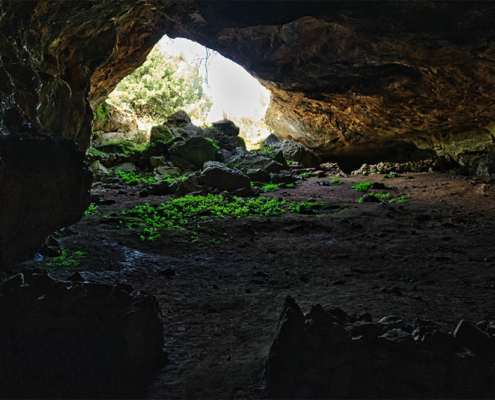
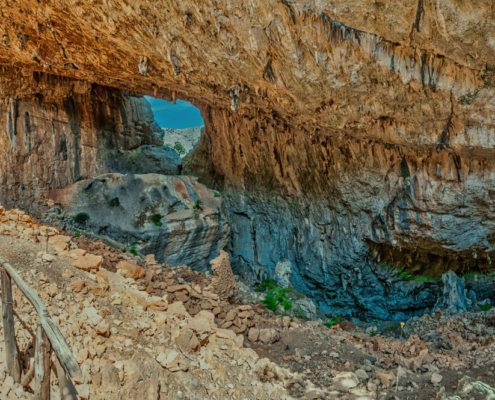
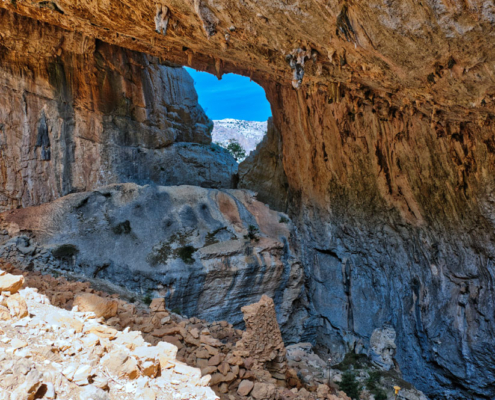
The Nuraghe stands in an exposed position on the edge of the Taccu Osini plateau. From there, you’ll have sweeping views of the valley and the surrounding table mountains. Be sure to explore the cave below the Nuraghe, which forms a natural tunnel cutting through the summit.
On your way back, consider making a detour to the Su Scrau viewpoint.
At the top, there is a small Forestale station where the surroundings are monitored for potential forest fires. The view spans the entire plateau and extends all the way to the sea.
Tip: If you have enough time, you can cap off your day trip with a visit to the Grotta Su Marmuri near Ulassai. There’s no need to descend back to Osini; instead, take a narrow shortcut over the mountains, which leads directly to the cave after about 2 km. I’ve marked this route in blue on this map for you.
From Cala Fuili to Cala di Luna and the rock arch “Arco di Lopiru”
This tour is scenically stunning because the sea is almost constantly in sight, and the path often offers wide views of the Gulf of Orosei.
On hot summer days, you should avoid overexerting yourself and, depending on the temperature, only walk as far as Cala di Luna.
While it is theoretically possible to continue south towards Cala Sisine, for me, the heat at the rock gate marked the end of the journey.
It would have still been over 6 km to Cala Sisine, which I would also have had to walk back the same day—then continue on to the parking lot at Cala Fuili. That would have added up to about 30 km and 1600 m of elevation gain, and with temperatures at 35°C, I decided it was better to turn back at the rock gate.
The path from Cala Fuili to Cala di Luna is partly very steep and uneven.
It is not suitable for families with small children. If you plan a family outing to Cala di Luna, it’s better to book places on one of the many excursion boats that travel here during the season from Cala Gonone, Santa Maria Navarrese, Orosei, and La Caletta.
From the parking lot at Cala Fuili to Cala di Luna is about 5 km. Although the highest point is only 140 meters above sea level, the elevation gain adds up significantly due to the constant ups and downs.
It’s best to start your hike shortly after sunrise, as it’s still relatively cool, and you’ll arrive at Cala di Luna before the many excursion boats. Depending on your fitness level, the hike takes 1 to 1.5 hours.
Wear sturdy shoes, as sandals are not suitable for this path.
At Cala di Luna, you have the option to simply enjoy a wonderful day swimming or continue hiking to the rock gate. An additional option is to take a detour into the Codula di Luna gorge, which ends here by the sea.
If you enjoy climbing, the cliffs of the steep coastline offer a wide range of possibilities.
The further path to the rock gate is much easier than the section from Cala Fuili to Cala di Luna. Be sure to bring enough water, as there is little shade, and the path is in full sunlight until the afternoon.
During the main season, a small restaurant at Cala di Luna is open, where you can get refreshments.
The distance to the Arco di Lopiru is about 3.5 km and 350 meters of elevation gain.
If you pass Cala di Luna on the way back, the sea will naturally be tempting.
Depending on the weather, feel free to take your time for a swim or a short excursion into the Codula di Luna before starting the return journey to the parking lot in the afternoon. By then, most of the path will be in the shade, making the return hike a bit less strenuous.
From Capo Comino to Spiaggia di Berchida
This hike is relatively short at 12 km for the round trip, with little elevation change, making it suitable for children from about 8 years old.
If you still have the energy and stamina at Spiaggia di Berchida, you can extend the tour by walking along the beach to the Biderosa Nature Park.
On hot days, it’s best to start early at sunrise, so you can also take advantage of the cooler morning hours for the return trip.
Spiaggia di Berchida is very popular during the high season.
However, most beachgoers stay near the parking lot, so you’ll still find plenty of quiet sections of the beach even in summer.
Throughout the hike, you have the option to either walk on paths behind the beach or directly along the sea.
The paths also provide the opportunity to complete the entire tour by bike.
In La Caletta and Santa Lucia, there are bike rental providers who can also offer valuable tips for tours.
Park your car near the old lighthouse, where the asphalt road ends and transitions into an unpaved forest road.
I can only recommend this track for further travel if you have a suitable off-road vehicle with appropriate ground clearance.
Especially after heavy rainfall, deep ruts form here.
The tour starts somewhat away from the sea, passing through macchia and bushes, and later through pine forests.
However, proper shade is rare.
The forest road has paths branching off to the sea, and the GPX track provided here is only meant for rough orientation. As long as you stay close to the sea, it’s hard to get lost.
In the first few kilometers, the coastline remains rocky, and only after about 5 km do you reach the fine sandy beaches.
At the northern end of the beach, the Rio Bèrchida flows into the sea, creating a beautiful backdrop between rocks, sand, and bushes.
From here, it gets (at least in summer) gradually more crowded as you approach the large parking lot.
There is also a small bar open during the bathing season.
You now have the option to extend your hike and continue along the beach to the Biderosa Nature Park. It’s another 3 km to the park’s pristine beaches.
Access to the park is generally subject to a fee, and you might be checked at the beach and asked to pay a few extra euros.
From Locanda Ammentos to Punta Su Mutucrone
The mountain range of Monte Albo offers numerous tours along various hiking trails.
This particular tour has the advantages of being relatively short at 4.5 km and around 2.5 hours, and (at least in summer) provides the opportunity to finish with a stop at Locanda Ammentos.
Another advantage is the nearly continuous signage and trail marking, which is quite rare in Sardinia. So, orientation is straightforward.
The trails are sometimes very steep and also pass over rugged rocks, so you should have sure-footedness and some experience in mountain hiking.
This hike is not suitable for families with small children.
Required equipment includes sturdy (preferably ankle-high) hiking boots and a jacket, as strong winds are often present at the top.
Even in summer, there are days when the peaks of Monte Albo are covered with clouds in the morning. On those days, it’s better to postpone the tour, as conditions usually don’t improve during the day.
In general, it’s advisable to keep an eye on the weather forecast to avoid suddenly finding yourself in dense fog at the summit.
Starting from the parking lot at the Locanda, cross the road and take the hiking trail uphill.
At the two junctions within the next 500 meters, turn right each time. You can also do the tour in the opposite direction, but the ascent will be much steeper.
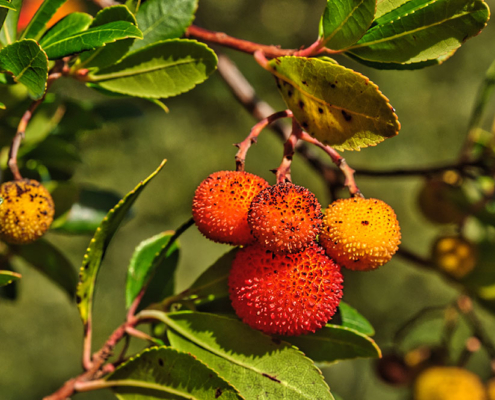
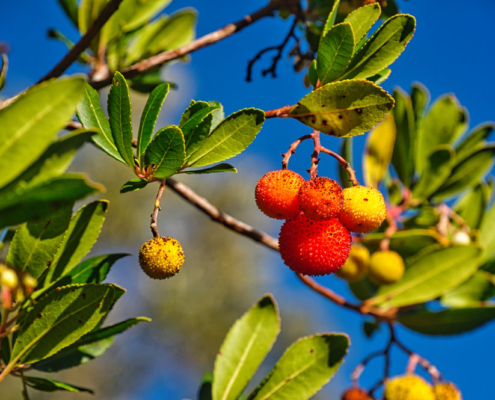
Passing by holm oaks and strawberry trees, which bear yellow and red fruits in the fall, you will soon enter a shady forest.
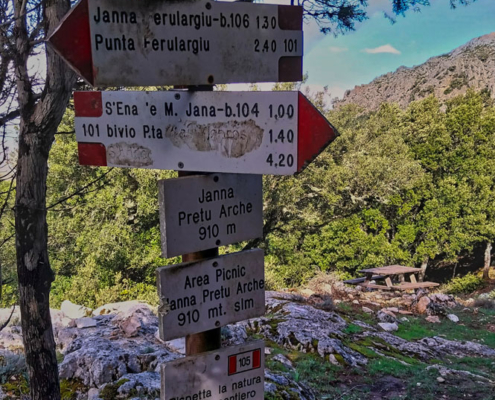
The path gently ascends until you reach the Janna Pretu Arche picnic area. Here, you can rest and enjoy the beautiful view of the inland.
From the picnic area, take the eastern fork, which continues uphill through the forest and then follows the rocks along the southeastern slope of Monte Albo.
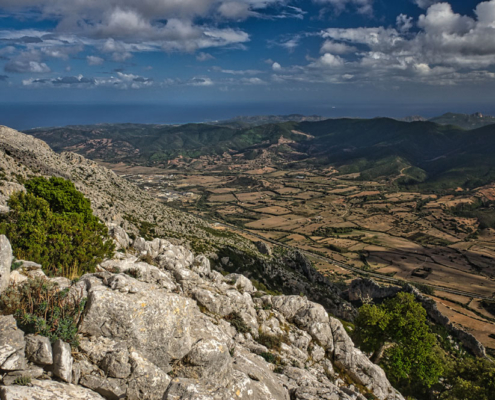
Here, you’ll have a clear view of the Siniscola valley, the Monti Remule, and all the way to the sea.
Later, the path veers more to the north and reaches a small plateau. There, you’ll find a marked junction to the left that leads to the summit, which can be reached in just a few minutes.
The return route starts by descending from the summit back to the plateau, then turns left towards the north-west and continues straight ahead to a cliff edge.
From here, the path steeply descends until you enter the forest below, where the trail flattens out and the loop is completed.
Now, it’s just a few hundred meters back to the parking lot.
From S’ Ulidone to Punta Su Pizzu and Punta Cupeti
This hike, covering 11 km with approximately 700 meters of elevation gain, can be completed in about 4 hours.
If you only want to climb the two peaks briefly, there is also the option to start the tour further up the road from Sant’Anna to Lula.
The route recommended here has the advantage that during the first half, you will hike through beautiful, shaded forests where you are unlikely to encounter many people.
There are no signposts along the lower section of the route, and even higher up they are only sporadic.
Since unmarked forest roads and paths branch off repeatedly, I recommend downloading the GPX track to your phone or GPS device.
While the path initially runs mostly in the shade, you will be exposed to the blazing sun as you ascend further.
On the summit plateau, a strong wind usually blows. Therefore, bring sun protection, a hat, and a windproof jacket. I also recommend sturdy hiking boots and long trousers, as you will have to walk through ankle-high thorny plants, particularly on the plateau between the two peaks.
The starting point of the tour is located at a hairpin bend on the SP3 road between Siniscola and Sant’Anna.
Although there isn’t a proper parking lot here, you can park your car on the unpaved shoulder beside the road.
The first part of the trail follows wide forest roads, ascending steadily but not too steeply.
Repeatedly, the view opens up toward the east, stretching all the way to the sea.
After about 3.5 km, you will reach the Fonte Su Ulidone Susu, where you can take a break and refill your water bottles. From here, you can either continue following the forest road or take a shortcut that begins directly above the spring (the GPX track follows this shortcut).
Further along, the trail rejoins a wider path, leading to the steep S’Iscala e Su Tassu, which is secured with a wooden railing.
After this short steep section, you will have a view of the barren plateau. Here you will soon reach one of the rare signposts, pointing left to Punta Su Pizzu and right to Punta Cupeti.
It’s not entirely easy to follow the path up here, as it frequently disappears between rocks and low vegetation. However, the Punta Su Pizzu can already be recognized from afar by its small summit cross.
From the summit, you will enjoy a breathtaking view of Siniscola, La Caletta, Posada, the entire coastal plain, and further north toward Isola Tavolara and Lago di Posada.
You can also take a short detour to Punta Cupeti, from where you will have a beautiful view toward Lodè and the Monte Albo hinterland.
The return route follows the same path as the ascent.
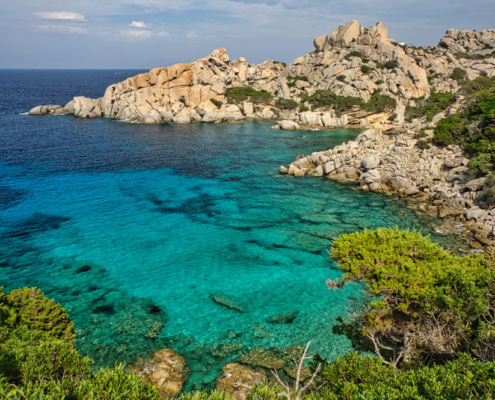
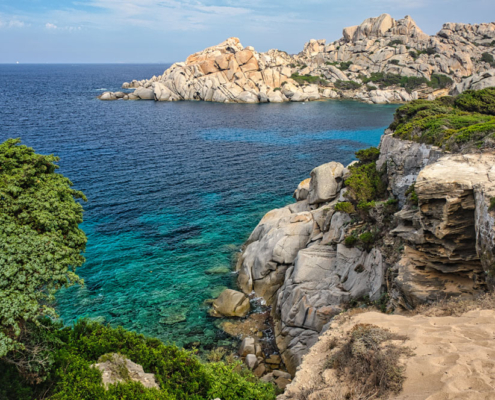
Circular hike at Capo Testa and to Valle di Luna
This is not a traditional hike with a fixed route but rather a day trip to a stunning peninsula in northern Sardinia.
There are countless trails and paths here, so the provided GPX track is only meant to serve as rough guidance to help you locate certain points in the area more easily.
This is an excellent day trip, especially for families. You can spend the entire day climbing around the rocks, enjoying beautiful viewpoints, and cooling off in some small bays.
The view often extends all the way to Corsica, which is only 13 km away from here.
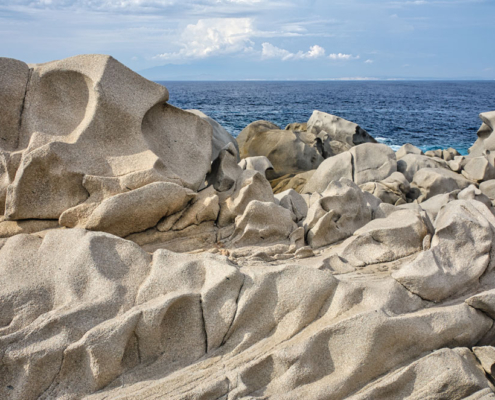
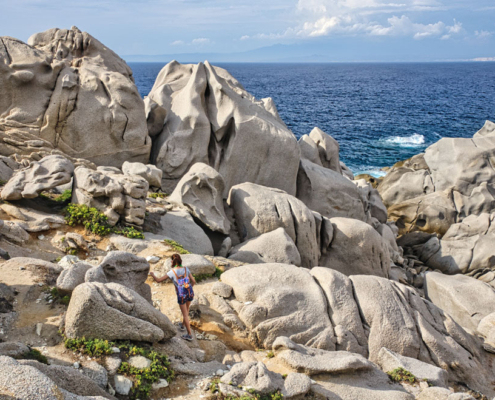
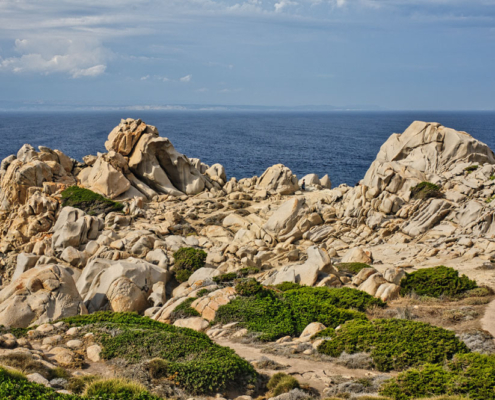
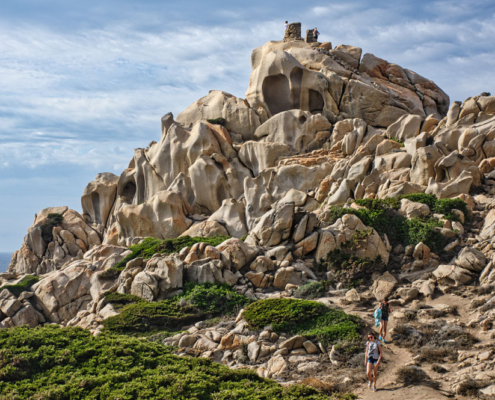
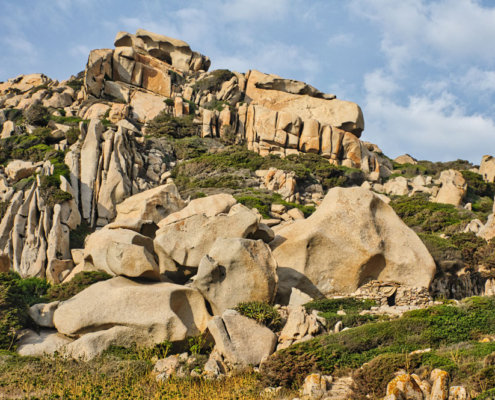
The rocks are made of coarse-grained granite, which has been shaped by wind and water into fantastic formations. They offer ideal conditions for climbing and bouldering since the granite is very rough and provides a solid grip.
If you plan to spend the whole day at Capo Testa, be sure to bring enough food and, most importantly, water. Apart from a small bar at the end of the road, there are no supply options available.
During the peak season in July and August, the area is packed with tourists, and it can be difficult to find a parking spot.
However, most visitors stay near the parking area and only walk a short distance towards the old lighthouse. Even during busy times, you will still find plenty of spots where you can be almost alone.
In addition to exploring the northern part of the peninsula, you should definitely visit Valle di Luna, which can be included in a circular hike.
If scrambling between the rocks feels too strenuous, there is an easier access route from the road, which I have marked on the map for you.
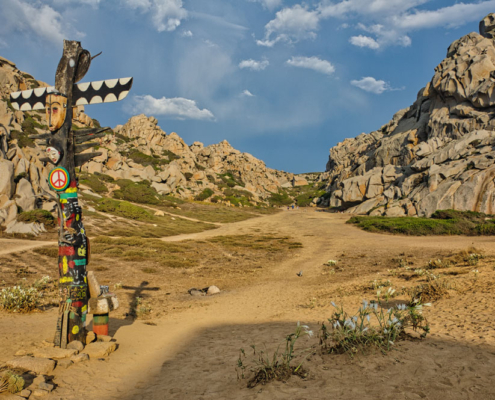
The Valle di Luna gets its name from the full moon festivals once celebrated here by hippies. Although these gatherings officially ended in 1984 and the valley is now a protected natural area where camping is strictly forbidden, you may still encounter a few free spirits living in tents and improvised huts under rock overhangs.
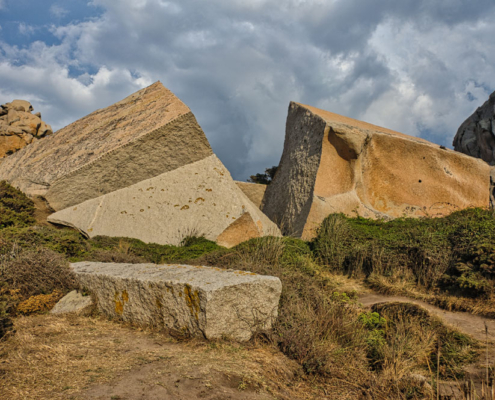
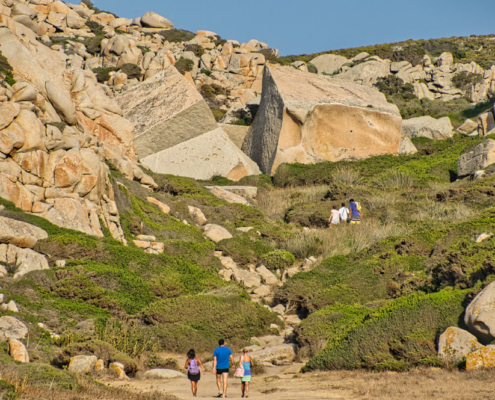
In the upper part of the valley, you can still see remnants of an ancient Roman quarry. The trail passes directly alongside two massive split granite blocks. The Romans used the granite as material for columns and transported it away by ship.
The small natural harbor at the valley’s exit is now a popular bathing cove.
Around and up Monte Rasu
This hike takes you through one of the most beautiful forested areas in Sardinia.
Shortly before the end of the circular route, there is an opportunity for an easy summit ascent. The tour is approximately 8 km long, and apart from the path to the summit, there are no significant elevation changes to tackle. Including the side trip to the summit, the hike takes about 3 hours.
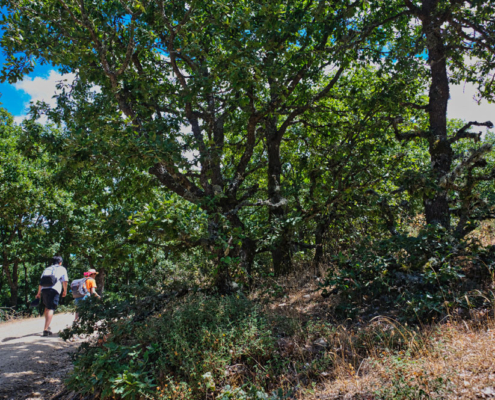
The area is primarily covered with downy oaks, turkey oaks, and holm oaks.
A unique feature of this route is the Sos Nibberos yew forest, also known as the “Ghost Forest,” where an endemic species of blackberry grows that can only be found in this particular woodland.
The yews here are several hundred years old and were already placed under protection, along with the surrounding forests, back in 1886. The hike takes you directly through this remarkable forest.
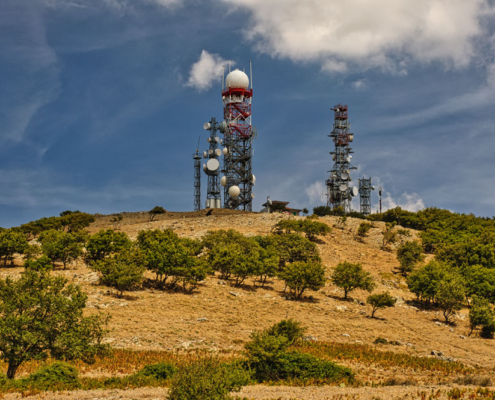
Monte Rasu is the highest mountain in the Province of Sassari, standing at 1,259 meters. On its summit, you will find several enormous antenna installations.
The trails were marked with red and white signs years ago, though during my visit, these were barely visible. Signposts are also only sporadically present.
The tour follows wide, easy-to-walk forest roads and trails, so light shoes are sufficient. There is plenty of shade, and at the beginning of the route, there are several springs where you can refill your bottles.
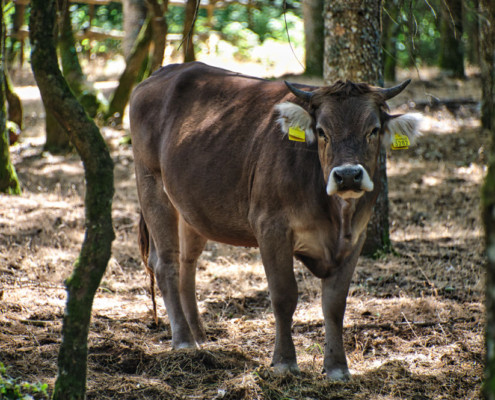
The forests are also used as grazing land, so don’t be surprised if you encounter free-roaming animals along the way.
As there are frequent unmarked junctions, it’s best to use the provided GPX track.
Park your vehicle at the Passo Ucc’Aidu and head straight up the wide trail. After about 500 meters, you’ll reach a junction where Monte Rasu is signposted to the left. However, you should turn right here and start circling the summit massif counterclockwise. The circular route will eventually close at this same junction.
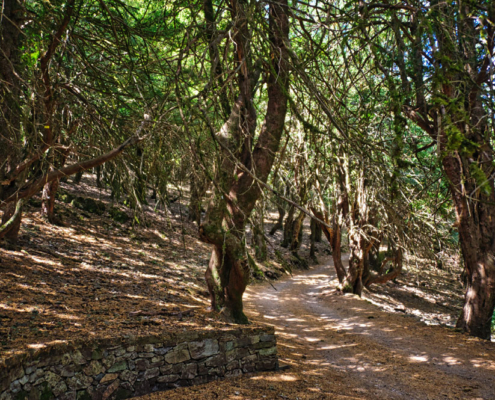
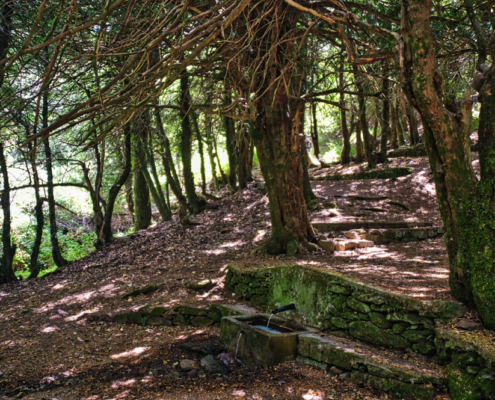
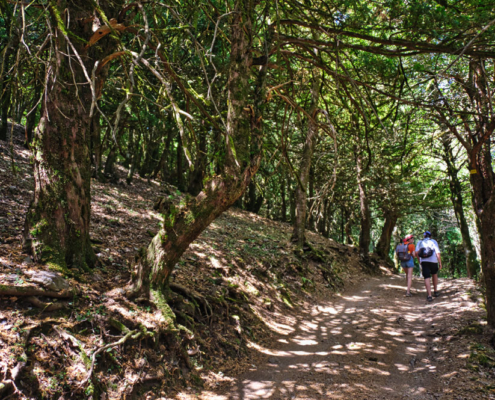
Along the way, beautiful views repeatedly open up. After approximately 2 km, you’ll enter the dark and atmospheric yew forest, which, with its ancient, lichen-covered trees, feels like something out of a fairy tale.
This is where the oldest yews in Sardinia stand, some of them over 1,000 years old.
The trail continues through lighter woodlands, circling the mountain, until after about 5 km (from the starting point), an unpaved track branches off to the left toward the summit.
In roughly 15 minutes, you’ll reach the top, where you can enjoy stunning panoramic views.
From the summit, return the same way to the junction, and turn left. From here, it’s another 20-30 minutes back to the parking area.
From Rifugio Sa Oche to Monte Tiscali
This tour can be perfectly combined with a day trip to the sights of the Lanaittu Valley.
In addition to the mountain hike, you can also visit three caves and the Sa Sedda ‘e Sos Carros archaeological site.
I recommend starting the hike during the cooler morning hours, refreshing yourself at the bar afterwards, and visiting the sights near the Rifugio in the afternoon.
The hike is approximately 8 km long with 350 meters of elevation gain. While it’s not particularly lengthy, it can be quite demanding, especially in summer, due to the lack of shade.
Plan for at least 4 hours, including the visit to the archaeological site in the Tiscali sinkhole.
Please note that there is an entrance fee for the sinkhole, so bring some money with you.
Essential items for this hike include adequate sun protection and at least 2 liters of water per person, as there are no water sources along the way.
Sturdy hiking boots with a strong sole and good sure-footedness are also necessary.
The trails are consistently marked with signposts and trail markers.
The drive to the parking lot at Rifugio Sa Oche can be a bit challenging, as most of the route from Sorgente Su Gologone follows an unpaved track that is quite washed out after rain.
However, with careful driving, the route is manageable even with a regular car.
From the parking lot, start by walking a short distance back along the access track. Soon, you’ll come across the remains of the Lanaittu Giant’s Tomb.
At an information board, turn right and follow trail 410 uphill, heading south.
The track quickly transforms into a steep mountain path, offering fantastic views down into the valley at various points.
At the top, you’ll encounter a narrow crevice in the rock, which you pass through. This marks the highest point of the tour; from here, it’s all downhill.
The trail now follows a rocky edge, and at the next junction, you’ll reach the entrance to the Tiscali sinkhole.
A visit is highly recommended, and the shaded area here is perfect for a break.
After exploring the sinkhole, return briefly to the junction and follow trail 481, which descends steeply.
At the bottom, you’ll encounter another junction. Take the path to the left, heading north.
The trail mostly follows a dry riverbed and eventually reconnects with a track. Turn right here, and after about 700 meters, a path branches off to the left, leading to a reconstructed traditional shepherd’s hut.
From there, follow the track back to the parking lot.
For the return route in particular, I recommend downloading the GPX track.

